Web HostingMost affordable shared hosting from TZS 9,100 per year
 Dedicated ServersExperience unmatched power and control with a physical server in Tanzania.
 WordPress HostingHigh-Speed, Tanzania-Optimized WordPress Hosting
 Windows HostingOptimized for Windows-based applications and websites
 cPanel HostingUser-friendly hosting powered by cPanel
 Email HostingProfessional Tanzanian email hosting for your .co.tz domain (Secure, reliable, and Swahili-supported)
 Reseller HostingLaunch your own hosting business with minimal technical requirements
 Affiliate ProgramEarn referral commissions by promoting our services
 DomainsFind and register available domain names in seconds
 .co.tzSecure the trusted .co.tz domain made for Tanzanian businesses.
 .tz DomainClaim the official .tz domain for national trust and recognition.
 .com DomainSecure the trusted .com domain for Tanzanian businesses.
 Supported Tlds (glTLDs and ccTLDs)Browse and register domain extensions from around the world
 Whois Lookup | Find Out Who Owns a DomainLook up domain ownership, expiry dates, and registrar information
 VPS
VPS VPS Hosting TanzaniaDedicated resources. Tanzanian performance. Full server control.
 Managed VPS TanzaniaNot a tech expert? Choose a managed Tanzania VPS.
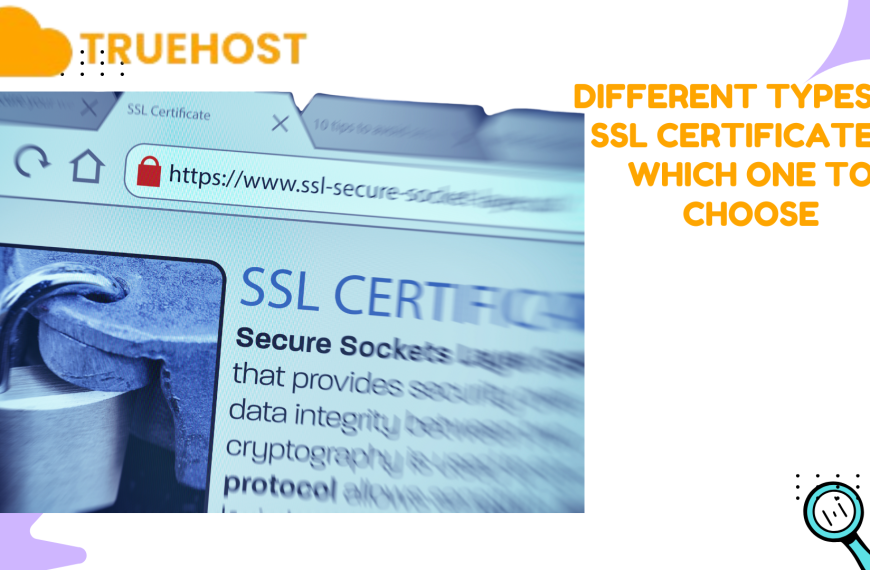
Did you know that a website without an SSL certificate can scare away up to half of its visitors before they even read a word? People notice that “Not Secure” warning instantly, and trust disappears just as fast.
Therefore, if you’ve launched your website and still don’t see that tiny padlock next to your domain, it’s not just a small detail you can ignore. It’s the difference between a trusted site and one that browsers warn users to avoid.
The good news? Installing an SSL certificate is as easy as abc. You don’t need to be a tech expert or hire a developer.
In this guide, you’ll learn step-by-step how to install an SSL certificate on your website, from choosing the right one to verifying it works.
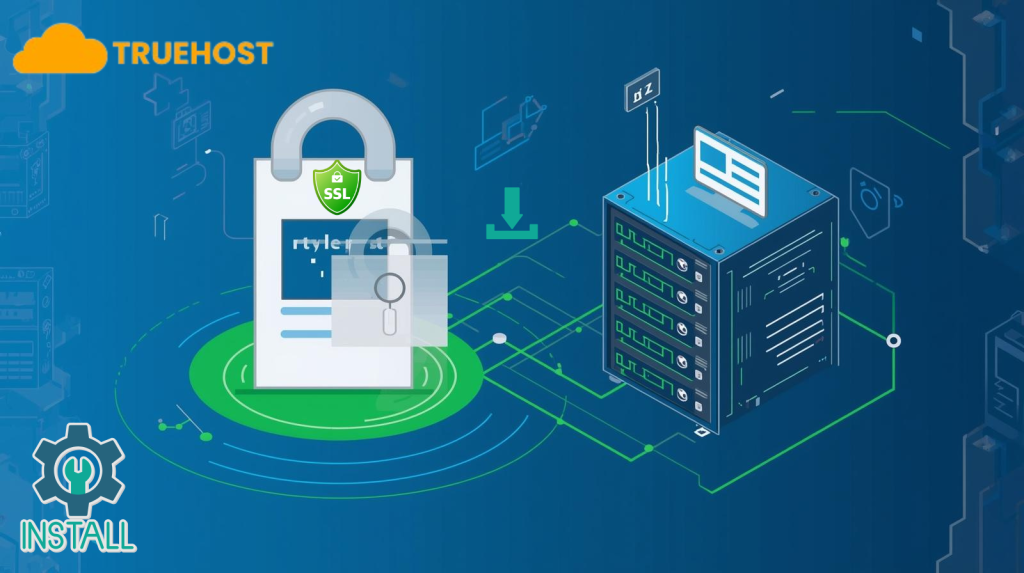
How to Install an SSL Certificate on Your Website
Installing an SSL certificate follows the same basic pattern on most hosts and servers. Whether your site runs on Linux or Windows, uses cPanel or Plesk, or is built with WordPress, the process moves through a few predictable stages.
First, you choose the right certificate for your needs. Then you obtain it, create a CSR (Certificate Signing Request), install the issued certificate on your server, switch your site to HTTPS, and finally verify everything works.
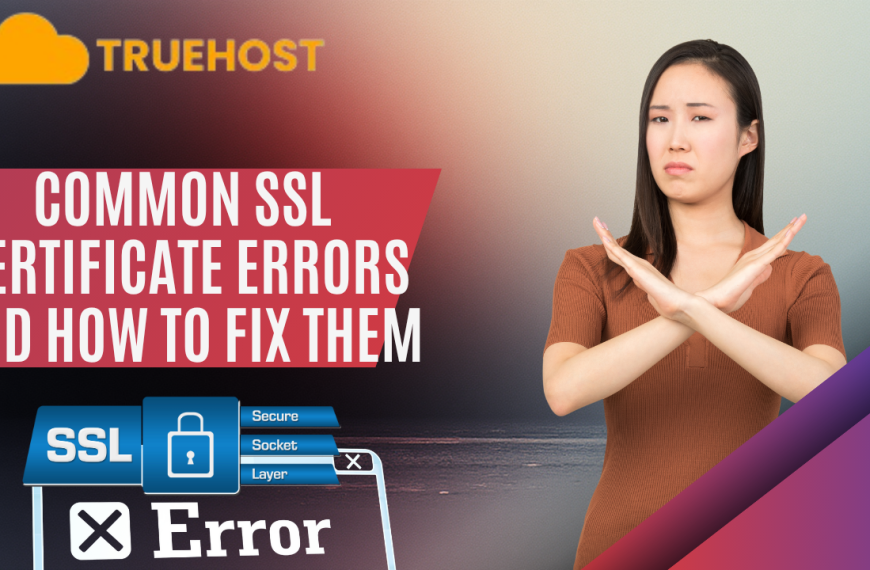
Each stage has a small set of actions you must complete. Do them in order, and you avoid common mistakes like mixed content, broken links, or expired certificates. If you prefer automation, many hosts, including Truehost and certificate authorities, support one-click or auto-renewed SSLs that remove most manual steps.
Either way, let’s see the step-by-step process of installing an SSL certificate on your website in Tanzania.
Step 1: Choose the Right Type of SSL Certificate

Start by matching the certificate to what your site actually does, as it saves time and money.
For a small blog, portfolio, or basic info page, choose a Domain Validation (DV) certificate. It proves you own the domain and turns on HTTPS. It’s fast, free options exist, and it covers the basics.
However, if your site takes payments, stores customer details, or represents a business, consider Organization Validation (OV). OV checks some business details before issuance, which gives visitors more confidence and shows your site represents a real company.
For the highest level of trust, pick Extended Validation (EV), the strictest. It verifies your organisation thoroughly and can show stronger trust signals in some browsers. So, you can use EV for banks, large e-commerce sites, or businesses where trust is critical.
A few other things to keep in mind include:
- Wildcard SSL: Choose this if you need one certificate to cover subdomains like shop.yourdomain.com and blog.yourdomain.com.
- Multi-domain (SAN) SSL: Use this if you want one certificate for several different domains.
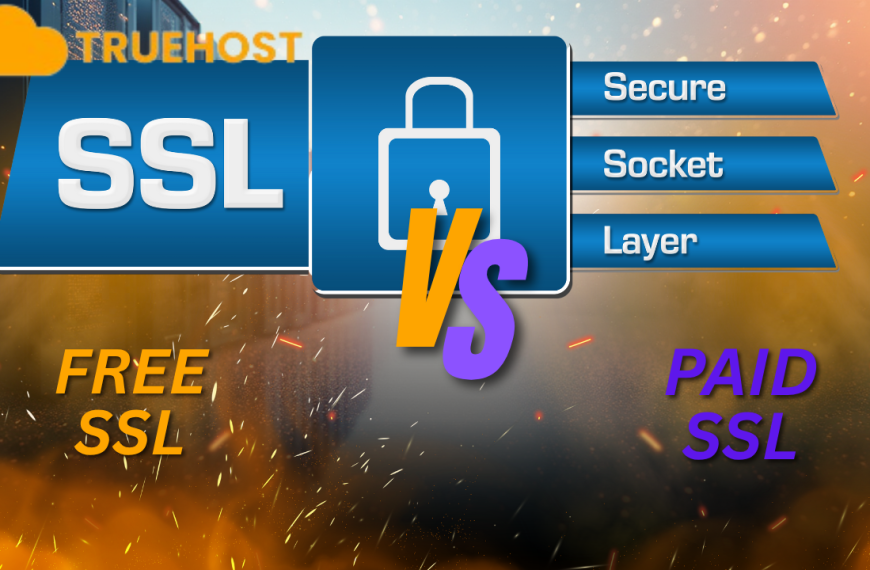
- Free vs Paid: Free SSLs are usually DV and perfect for simple sites. On the other hand, paid SSLs give OV/EV options, warranties, and support.
In short, choose an SSL certificate that matches your audience and risk.
Step 2: Purchase or Obtain an SSL Certificate
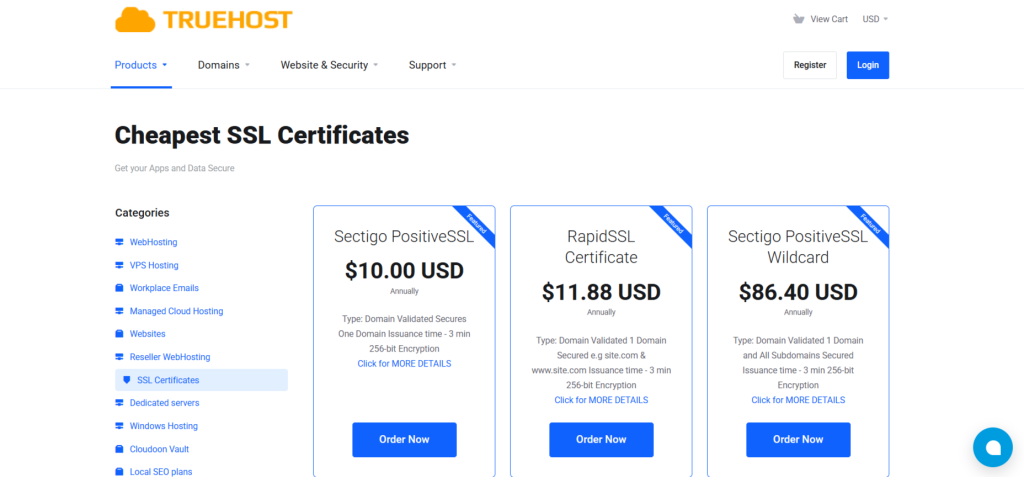
Once you know the type of SSL you need, it’s time to get one. The process depends on your hosting provider and budget.
Many hosting companies, including Truehost, now offer free SSL certificates through services like Let’s Encrypt. These are ideal for small sites, blogs, or startups that just need basic encryption. So, check your hosting dashboard because you may already have an option to “Enable Free SSL” or “Activate HTTPS” with a single click.
However, if your site needs a higher level of validation (like OV or EV), you’ll need to purchase a paid SSL certificate. Thankfully, Truehost partners with trusted Certificate Authorities such as DigiCert, GlobalSign, and Sectigo, meaning you get the same high-quality certificates but with local support and easier setup.
Here’s how you can go about it:
- Visit the Truehost website SSL Certificates section.
- Choose your preferred SSL plan based on your website type. That is DV for personal sites, OV for small businesses, or EV for e-commerce stores.
- Proceed to checkout and complete your payment securely.
- Wait for verification. Once your domain or organization is validated, your SSL certificate will be issued and ready to install.
The entire process is straightforward and guided. Truehost’s dashboard even walks you through each step so you can activate HTTPS within minutes with no technical background required.
Pro Tip: Before purchasing, confirm if your hosting package already includes SSL. You might save money or unlock an automatic renewal option you didn’t know about.
Step 3: Generate a Certificate Signing Request (CSR)
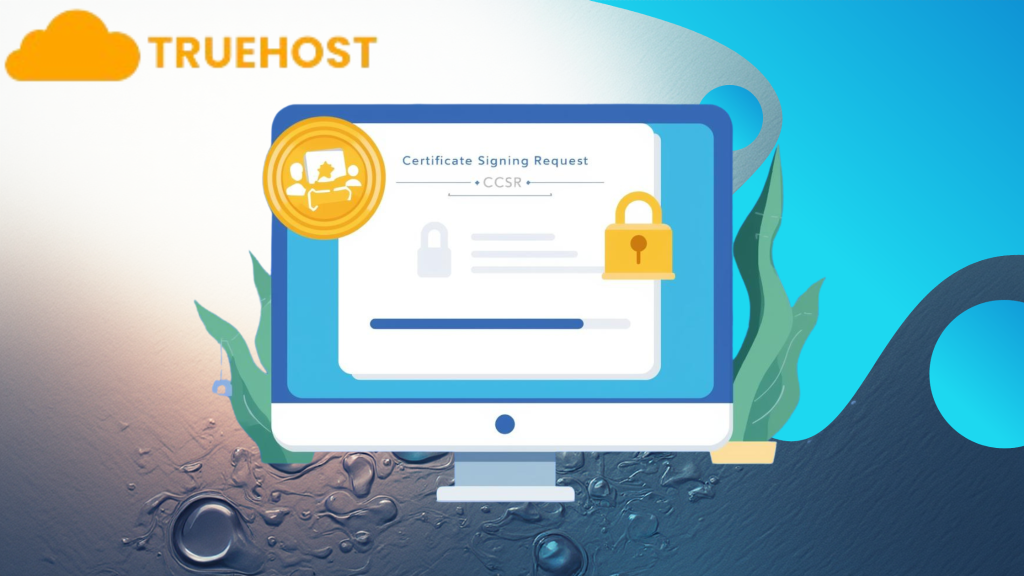
Once you’ve purchased or chosen your SSL certificate, the next step is to generate a Certificate Signing Request (CSR). Think of this as a digital request that tells the Certificate Authority (CA) who you are and which domain needs protection.
Here’s how to do it:
- Log in to your hosting control panel.
- Navigate to the SSL/TLS or Security section.
- Find the option to generate a CSR.
- Fill in your details. This usually includes your domain name, organization name (if applicable), location, and email address.
- Choose your server type, for example, Apache, Nginx, or IIS.
- Click Generate to get your CSR file or text.
You’ll then see a long block of text beginning with “—–BEGIN CERTIFICATE REQUEST—–”. This is your CSR, so keep it safe, because you’ll need to copy and send it to your SSL provider.
If you’re using Truehost, the process is even easier. The hosting dashboard can automatically generate the CSR for you, reducing the chance of errors and speeding up your SSL activation.
Step 4: Install the SSL Certificate on Your Web Server
Now that your SSL certificate has been issued, it’s time to install it on your web server.
Here’s how to do it:
- Download your SSL certificate files from your provider. You’ll typically get three items which are your main certificate, the intermediate (or chain) certificates, and your private key.
- Log in to your hosting control panel. In most cases, that’s cPanel or Plesk.
- Go to the SSL/TLS or Manage SSL Sites section.
- Choose the domain you want to secure.
- Upload or paste the certificate files and the private key into their respective fields.
- Click Install or Save Certificate to complete the setup.
Once installed, your hosting server connects your website and visitors through a secure, encrypted channel, meaning hackers can’t eavesdrop on sensitive data.
Step 5: Update Your Website to HTTPS
Installing the SSL certificate is only half the job. Now you need to make sure your entire website uses the secure HTTPS version. This step tells browsers and search engines that your site is safe and should always load through a secure connection.
Here’s what to do next:
- Update your website settings: Log into your website’s admin panel, then proceed to the general settings and change your website URL from http:// to https://. This ensures all pages automatically point to the secure version.
- Redirect old links: Add a redirect rule so anyone visiting the old HTTP version is automatically sent to HTTPS. If you’re using Apache, you can do this via your .htaccess file. For Nginx, update the server configuration file.
- Update internal links and images: Make sure all internal links, images, and scripts use HTTPS. This prevents “mixed content” warnings that appear when part of your site is still loading insecure elements.
- Update your sitemap and analytics: Submit the HTTPS version of your site to Google Search Console and Bing Webmaster Tools, and update your Google Analytics settings. This helps search engines correctly index your secure site.
Step 6: Verify SSL Installation
Finally, it’s important to make sure everything is working properly. Open your website in a private or incognito browser window and check for the padlock icon in the address bar. This shows that the connection is secure.
Likewise, use an online SSL checker tool like SSL Labs or Why No Padlock to inspect your certificate. These tools can detect errors, mixed content issues, or expiration problems.
Frequently Asked Questions (FAQs)
1) How to bind an SSL certificate to a website?
To bind an SSL certificate to a website, install the certificate on your hosting server, link it to your domain in the hosting control panel, and enable HTTPS to ensure all traffic is secure.
2) How to install an SSL certificate for free?
You can install a free SSL certificate using Let’s Encrypt. Generate a CSR, request the certificate through your hosting panel, install it, and enable HTTPS. Plus, remember to renew it regularly, usually every 90 days.
3) Do we need to install an SSL certificate?
Yes, installing an SSL certificate is essential. It encrypts data, protects visitors’ information, builds trust, prevents “Not Secure” warnings in browsers, and improves SEO rankings.
Final Thoughts
Installing an SSL certificate is a simple but powerful way to protect your website and visitors. It encrypts data, ensures safe browsing, and signals trust with the padlock icon in browsers. Plus, whether you run a blog in Tanzania or a global e-commerce store, SSL is essential for security and credibility.
So, following the steps in this guide, from choosing the right certificate to verifying its installation, helps your website stay secure, gain user confidence, and improve search engine rankings.
Ready to get started? Truehost is a reliable hosting provider in Tanzania to consider. You get free and paid SSL certificates, local payment options, and dependable support, all to secure your website without hassles.